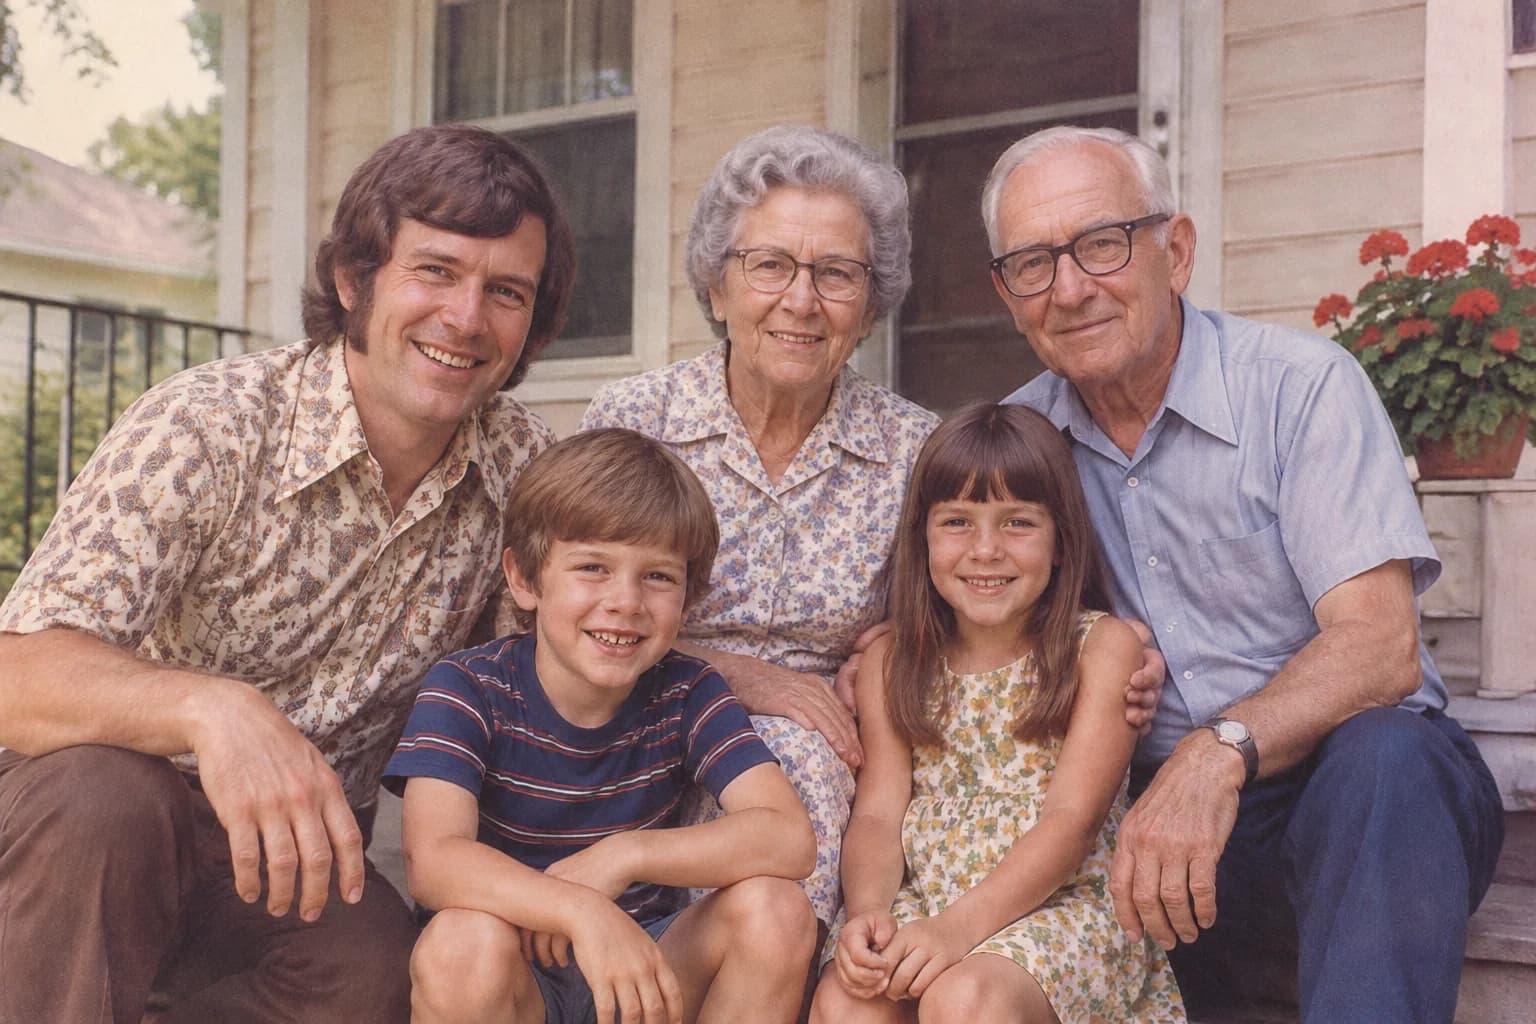
 Before
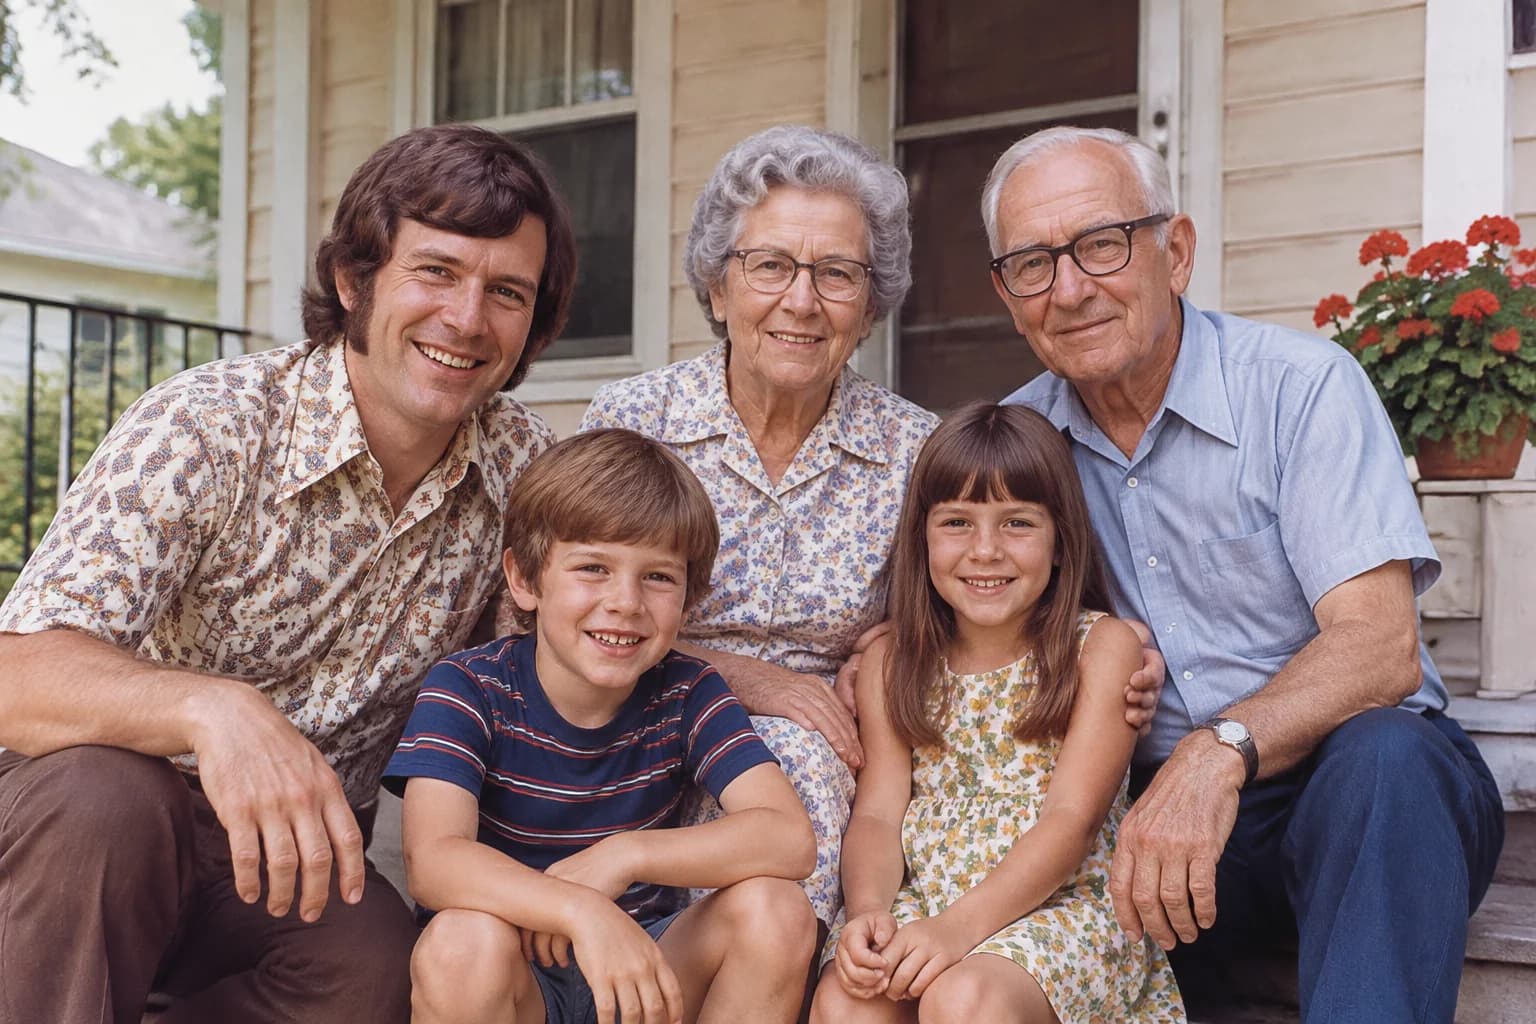 After
When precious old family photos get scratched, creased, or severely faded, our biggest fear is not only that they are unclear. It is that after processing, the people in the photo may no longer look like themselves.
Today, AI technology can reconstruct some of the outlines, textures, and colors that remain in a photo, helping a blurry image look clearer. However, when pixels are completely missing, AI can only make an educated estimate from the surrounding clues.
That is why our core principle when using AI to restore old photos is simple: improve the image as much as possible while preserving an honest view of its original appearance.
Top 3 Preparations Before AI Restoration
Doing a little groundwork before handing your photo over to AI can improve the final restoration result.
1. Back Up the Original (Safety First)
Before starting any edits, securely save your original scanned file or smartphone photo. Perform uploads, cropping, and AI restoration on a copy. If the first attempt is not ideal, you can try different settings without risking your only original image.
2. Ensure a Clear Input Source
Use a high-resolution scanner whenever possible. If you need to photograph a physical picture with a smartphone, lay the photo flat, keep the phone lens parallel to the image, and avoid glass glare and hand shadows.
3. Avoid Pre-Processing
Before uploading, do not apply filters to the original image or manually over-sharpen it. These changes can amplify existing noise and edge artifacts, making it harder for the AI model to interpret the photo. If irrelevant items such as a photo album frame or desktop are visible around the edges, you can crop them out, but do not crop out the subject, hands, or important background clues.
Quick Diagnosis: What Kind of Restoration Does Your Photo Need?
Do not rush to click the one-click repair button. Take a minute to identify the photo's biggest problem so you can review the result against the right standard:
- Minor flaws: A little dust, fine scratches, or light creases on the surface.
- Color loss: The image is yellowed or grayish, or its original colors have severely faded.
- Facial blur: Facial details are missing, making the features difficult to recognize.
- Severe damage: Missing corners, heavy obstructions, or overlapping subjects.
- Black-and-white colorization: The photo is clear enough, but you want to create a colorized version.
Different problems call for different checks. Scratch removal is mainly about natural edge transitions, while facial enhancement requires careful checking that the person's identity has not changed.
How to Use AI Restoration and Colorization
Choose a Repair Mode Step by Step
If the photo has only slight fading or fine scratches, start with Quick restore and review the overall improvement. If clothing details, the background, or facial features are heavily degraded, try HD restore. A higher-detail option does not guarantee a perfect result; it still depends on how much usable information remains in the original photo.
Use Concise and Precise Prompts
If the AI tool supports repair instructions, you do not need to write an essay. Point out the most visible defect and the elements that must remain unchanged.
This kind of instruction is easier to review than a vague request such as “make the photo perfect,” and it makes it easier to see what the AI changed.
Black-and-White Colorization: Artistic Recreation, Not a Historical Record
Colorizing an old black-and-white photo can make the light and warmth of an earlier time feel more vivid, which is especially meaningful when sharing family memories. However, grayscale photos do not contain the original color data. AI makes a reasonable visual estimate from contrast, lighting, and common materials such as uniforms, brick walls, and trees. Treat the colorized version as a visual reference and keep the black-and-white original alongside it.
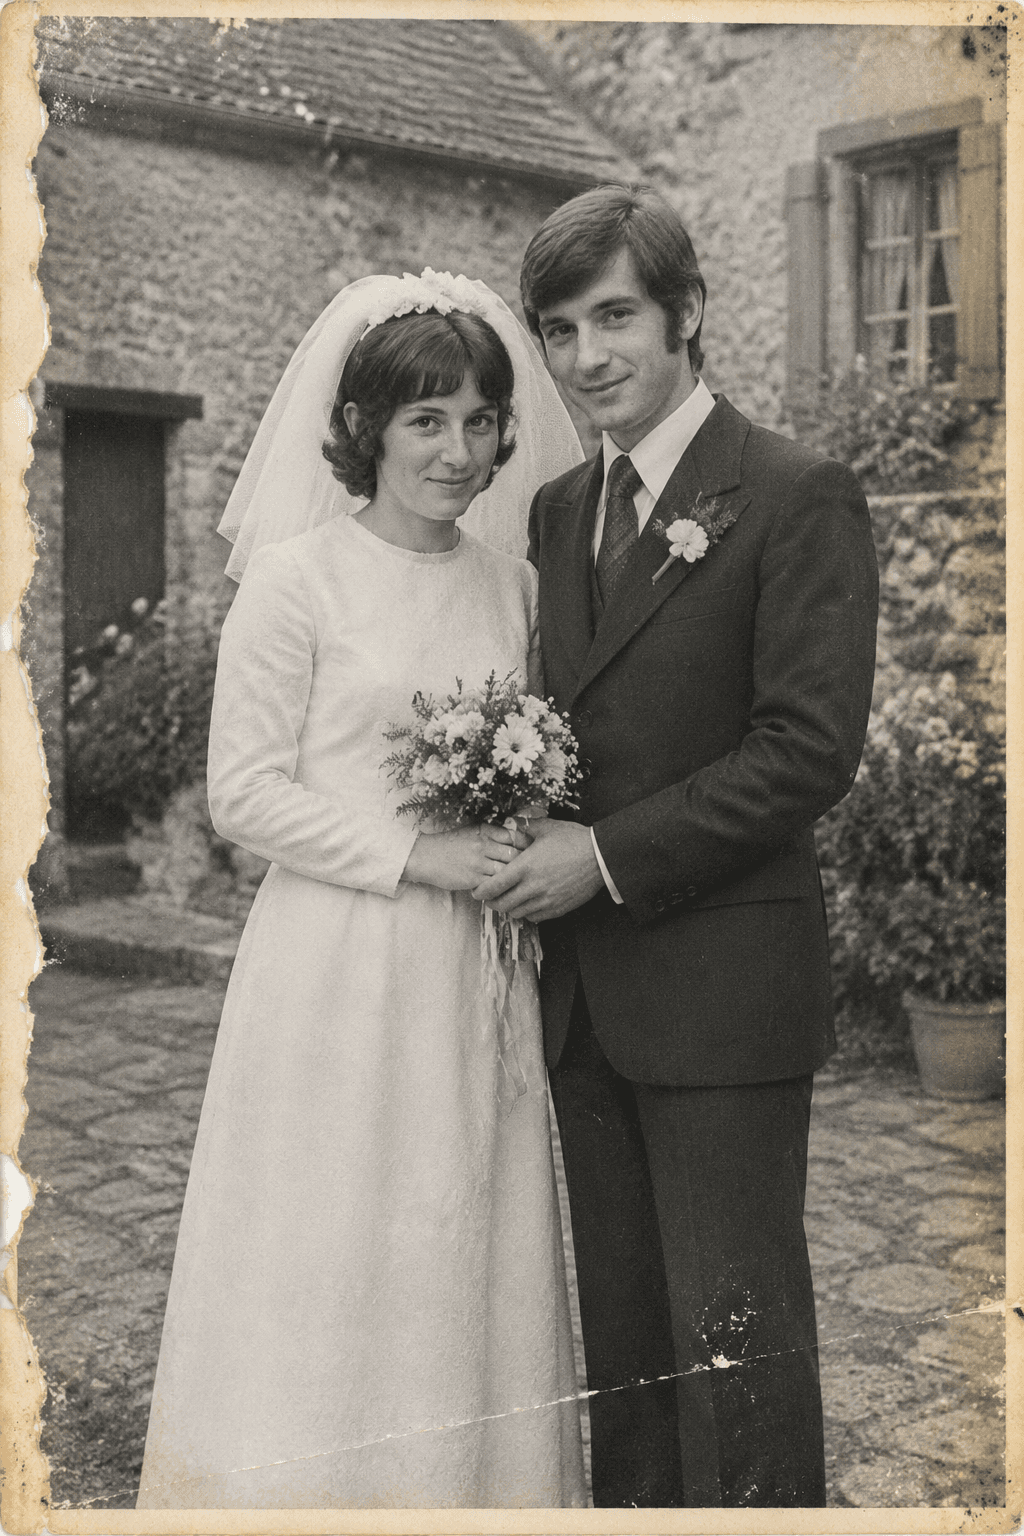 Black-and-white original
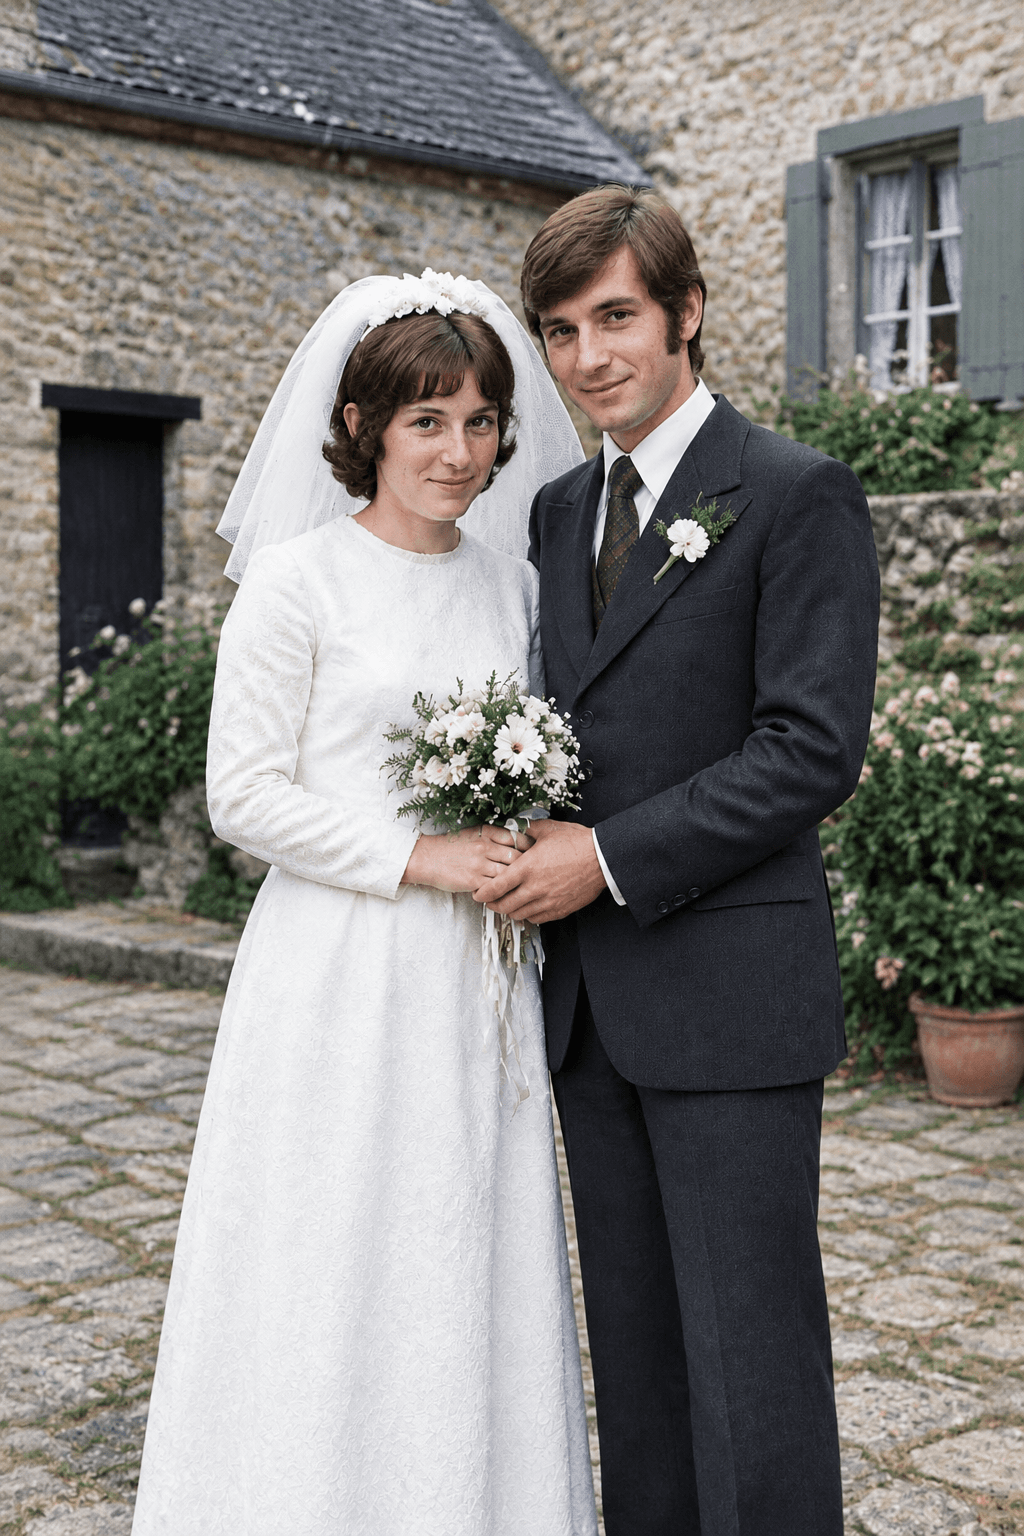 Colorized version
The Post-Restoration Checklist: Checking Whether the Result Still Looks Authentic
Do not rely only on the thumbnail. Zoom in and compare the before and after, checking these five areas:
- Facial expression: Do the proportions of the eyes, nose, mouth, and hairline still look like the person you remember?
- Limb details: Especially the hands: are the number of fingers, the posture, and the objects being held still correct?
- Clothing and accessories: Have buttons, glasses, hat styles, or fabric textures been replaced with something that was not in the original?
- Background structures: Have walls, trees, buildings, or photo edges gained strange structures that were not present before?
- Lighting and texture: Has the restoration or colorization removed the natural depth of the lighting or the film grain?
If only the background has minor changes while the person looks clear and natural, the restoration may be useful. If facial features or important objects have changed noticeably, do not keep that version.
Poor Results? Try These Rescue Methods
If the model repeatedly makes the same mistake, adding more prompts usually will not solve the underlying problem. The root cause is often the input source. Try rescanning the photo, changing to a glare-free camera angle, or improving the lighting. These changes can be more effective than repeatedly rewriting the prompt. For photos with severely overlapping people or faces that are almost completely torn away, keep reasonable expectations about what AI can reconstruct.
Frequently asked questions
Can AI restore every damaged old photo to 100% of its original state?
No result can be guaranteed. The more genuine clues remain in the photo, the more natural the restoration can be. For completely missing areas, AI can only fill the gaps with an algorithmic estimate.
After AI colorizes a black-and-white photo, are those the actual historical colors?
No. Colorization is a reasonable estimate based on grayscale information, lighting, and learned visual patterns. It can be valuable for viewing and sharing, but it is not an absolute historical record.
How can I tell whether AI has changed the person's face?
Use the tool's before/after comparison and zoom in. Check the gaze, the curve of the mouth, the width of the nose, and distinctive features such as moles or scars.
Should I keep adding prompts if the restoration fails?
Check the original image first. In many cases, providing a base image with normal exposure and no glass glare is more effective than trying many new prompt keywords.